

These tips are basically how I design my Facebook cover templates so that they're easy to customize using smart objects, and clipping masks. Other designers may do theirs differently, but this is how I do it, and most of my clients love it! So if you're interested in creating some easy to customize Facebook cover templates then keep on reading.
First thing first to create a Facebook cover template we need the correct dimensions. These may change in the future so always make sure you stay updated on Facebook cover guidelines, and sizes.
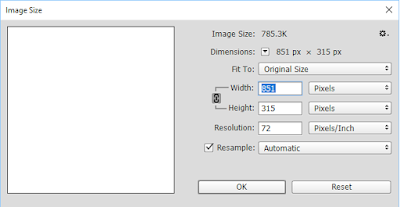
For now, we'll be using an 851px by 315px canvas in Photoshop at a resolution of 72 ppi (since we're working for web).

Once your finished up with your main design idea, it's time to optimize our "edit areas." Edit areas are places such as text, and images that you as well as less savvy photoshop users can easily customize without having to do too much work.

To create easily editable images I turn shapes into smart objects, and overlay images as clipping masks. That way people can edit the images without accidentally changing the entire template's design. So it's easy right? All you have to is create a shape, turn it into a smart object, and voila! It's all done right? No, that's not all there is to it. Close, but there's more.
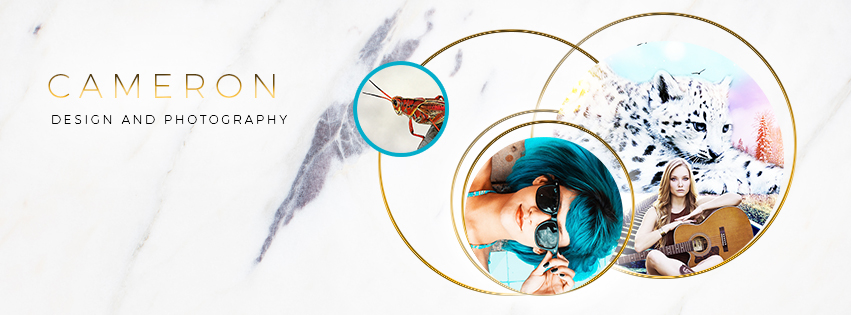
When you have your image areas set up (for example like the image I have below) you need to do a couple more steps to optimize them so they can be easily, and comfortably edited.
1. Duplicate the image shape or background shape in a new document.


2. Adjust to a comfortable size.
Ask yourself: Is this size a comfortable viewing size for others to customize their images in?
Take my smallest image area for example.

Viewing it, and customizing it at this size is a bit uncomfortable, and would force others to zoom in to the point where everything will look blurry.

To optimize the images for better viewing it's best for us to increase the dimensions. In this example I increased the dimensions from 85 x 85 pixels to 500 by 500 pixels. When done we can rename the shape, convert to a smart object, drag the shape or duplicate it back to the main project (the name of the facebook cover your working on), and then resize/re-position it to fit the original image shape.


This time when you double click the smart image object it will reveal itself to be nice, large, and comfortably editable. Now go ahead, and do this for all image areas that need it (the ones that are to small to comfortably edit without having to zoom in too much or doing too much resizing).
Next up make sure after double clicking the smart object you import or place your image, and make it a clipping mask to fit nicely within the background shape you created.
Here's my example:


When your images are all set, and done you can go ahead and start naming as well as grouping your layers so that it's organized, and easy to sort through. You can name your layers, and group according to what is comfortable to you. I name layers with names such as "Edit image one" or "Edit right" and I add a color to the layer meant to be edited like the example below:

Overall, this is the final look, and easy optimization of my Facebook Cover Template.


0 comments:
Post a Comment